How to Insulate Your Shed for All Seasons?

Are you looking to make your shed more comfortable and energy-efficient? Insulating your shed is a smart move that can help regulate the temperature inside, protect your tools and belongings from extreme weather conditions, and even lower your energy bills. See how to insulate a shed effectively.
Understanding the Benefits of Insulating a Shed
Before you insulate a shed, you must first understand why it’s crucial. Insulating your shed offers several benefits, including:
- Temperature regulation: Insulation acts as a barrier, preventing heat from escaping in winter and entering in summer, making your shed more comfortable year-round.
- Energy efficiency: By maintaining a consistent temperature, you’ll reduce the need for additional heating or cooling sources, saving you money on energy bills.
- Protect your belongings: Extreme temperatures and moisture can damage tools, equipment, and other items stored in your shed. Insulation helps protect them from the elements.
- Noise reduction: Insulation can also help dampen outside noise, creating a more peaceful environment within your shed.
Preparing for Insulating a Shed
Before you start insulating your shed, there are a few essential steps to take:
- Assess your shed’s condition: Inspect your shed for any cracks, holes, or structural issues that need to be addressed before insulating.
- Choose the right insulation material: Various insulation materials are available, such as fiberglass batts, rigid foam boards, or spray foam insulation. Consider factors like cost, R-value (a measure of insulation effectiveness), and ease of installation.
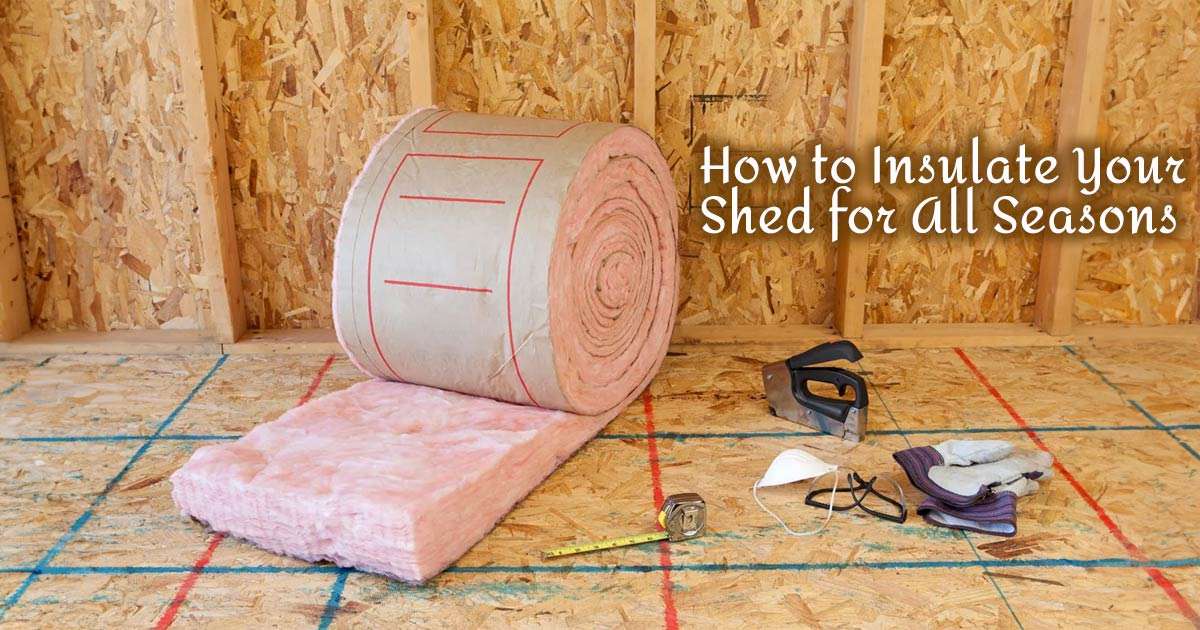
- Gather necessary tools and materials: Depending on the insulation type, you may need tools like utility knives, measuring tape, staple guns, and protective gear like gloves and goggles.
The Insulation Process
Now that you’re prepared get into the step-by-step process of how to insulate a shed:
Step 1: Insulate the Walls
- Measure the wall cavities to determine the appropriate insulation size.
- Cut the insulation to fit snugly into the cavities, ensuring there are no gaps or compressed areas.
- If using batts or rolls, use a utility knife to create slits for electrical outlets or pipes.
- Install the insulation, securing it with staples or adhesive, if necessary.
Step 2: Insulate the Shed Ceiling
- Determine the best insulation material for your shed’s ceiling, considering factors like weight and accessibility.
- If using rigid foam boards, measure and cut them to fit tightly between the joists or trusses.
- For loose-fill or blown-in insulation, rent an insulation-blowing machine and follow the manufacturer’s instructions.
- Ensure there are no gaps or spaces left uninsulated.
Step 3: Insulate the Floor
- If your shed has a raised floor, consider insulating underneath to prevent heat loss.
- Use rigid foam boards or batt insulation, cutting them to fit snugly between the floor joists.
- Secure the insulation in place with adhesive or mechanical fasteners.
Step 4: Seal Air Leaks
- After insulating, locate and seal any air leaks around windows, doors, electrical outlets, and other openings.
- Use caulk, weatherstripping, or foam sealant to close gaps and prevent air infiltration.
Tips for the Cheapest Way to Insulate a Shed
Insulating a shed doesn’t have to break the bank. Here are some cost-effective tips for the cheapest way to insulate a shed:
- Use recycled or repurposed materials: Look for free or discounted insulation materials from construction sites, salvage yards, or online marketplaces.
- Consider DIY options: Tackle the insulation project yourself to save on labor costs.
- Prioritize high-impact areas: If you’re on a tight budget, first, focus on insulating the shed walls, ceiling, and any areas with significant air leaks.
- Opt for low-cost insulation types: While not as effective as premium options, materials like blanket insulation or reflective foil insulation can be more affordable alternatives.
The Best Way to Insulate a Shed
While cost is a consideration, it’s also essential to choose the best way to insulate a shed for long-term effectiveness and durability. Here are some recommendations:
- Use high-quality insulation materials: Invest in insulation with a higher R-value for better thermal performance and energy savings over time.
- Consider spray foam insulation: While more expensive upfront, spray foam insulation provides excellent insulation and air sealing in one application, making it a highly effective option.
- Hire a professional: If you’re unsure about the installation process or want a guaranteed high-quality job, consider hiring a professional insulation contractor.
- Address moisture issues: Proper ventilation and moisture control are crucial for preventing mold, mildew, and insulation damage.
Maintaining Your Insulated Shed
Once you’ve insulated your shed, it’s essential to maintain it properly to ensure its longevity and effectiveness. Here are some maintenance tips:
- Inspect regularly: Periodically check for any signs of damage, moisture buildup, or insulation settling.
- Seal air leaks: As your shed ages, new air leaks may develop, so be prepared to re-seal any gaps or cracks.
- Clean and ventilate: Keep your shed clean and well-ventilated to prevent moisture buildup and potential insulation damage.
- Consider additional weatherproofing: Depending on your climate, you may need to take extra measures, like adding a vapor barrier or installing a dehumidifier to protect your insulation.
By following these steps and tips, you’ll be well on your way to creating a comfortable, energy-efficient, and well-insulated shed that serves your needs for years to come.
Insulate Your Shed for a More Comfortable Space
Insulating a shed is a practical way to improve its comfort and functionality. By assessing your shed’s needs, choosing the right insulation material, and properly insulating the walls and ceiling, you can create a space that is more energy-efficient and comfortable year-round. Regular maintenance of your shed’s insulation will ensure its effectiveness over time.

