How Do You Make Clothes in Roblox: A Comprehensive Guide
Roblox is a global gaming platform that has taken the world by storm with its unique blend of user-generated content, immersive experiences, and seemingly endless possibilities. Launched in 2006, Roblox has quickly become a favorite among gamers, attracting millions of players worldwide. Its success can be attributed to its innovative approach to gaming, allowing users to create, share, and monetize their own custom games and experiences.
One of the key factors contributing to Roblox’s popularity is its ability to cater to a wide range of interests and age groups. With a diverse array of games and experiences available, there’s truly something for everyone on Roblox. From action-packed adventures to educational simulations, the platform offers endless opportunities for creativity, collaboration, and fun.
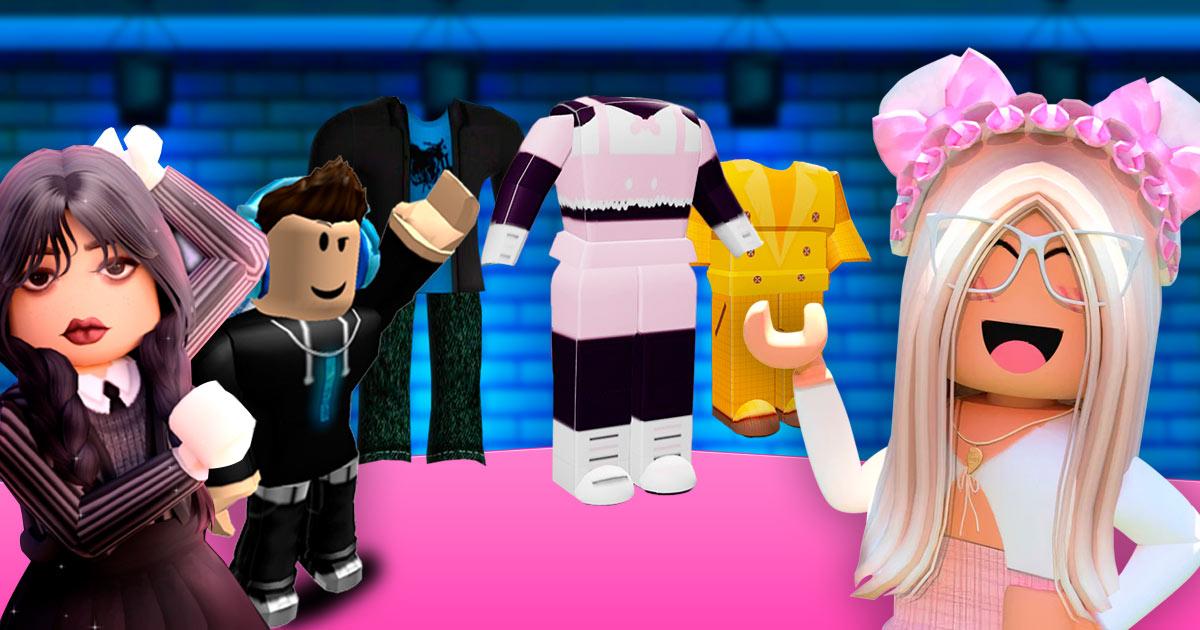
Another major draw for players is the extensive customization options available on Roblox. One such feature that has garnered significant attention is the ability to create and sell custom avatar clothes. This aspect not only allows users to personalize their in-game characters but also provides an opportunity to monetize their creations.
How to Make Avatar Clothes on Roblox
Creating custom clothes in Roblox is a fantastic way to showcase your creativity and personalize your gaming experience. In this improved guide, we’ll walk you through the process of designing and uploading your very own avatar clothing on Roblox.
Step 1: Set up your Roblox account and development environment
Before you get started, you’ll need a Roblox account. If you haven’t already, sign up for a free account at www.roblox.com. Next, download and install Roblox Studio, the platform’s official development tool, which allows you to create games and other content.
Step 2: Familiarize yourself with the clothing templates
Roblox provides clothing templates for shirts, pants, and t-shirts to help you design your custom items. Visit the Roblox Developer Hub and study the templates to understand the layout and boundaries. Each template comes with guidelines indicating the front, back, and sides of the clothing item. Keep these guidelines in mind when creating your design.
Step 3: Choose your preferred image editing software
To edit the clothing templates, you’ll need image editing software such as Adobe Photoshop, GIMP, or Paint.NET. Choose the software that best suits your skill level and comfort. Familiarize yourself with its features and tools to ensure a smooth design process.
Step 4: Edit the template and create your design
Open the chosen template in your image editing software and start designing your custom clothing item. Use layers to separate different elements of your design, such as colors, patterns, and text. This will make it easier to edit and fine-tune your creation.
Remember to adhere to the template’s guidelines and avoid placing important design elements on the seams, as they may not align properly when worn by an avatar. Also, ensure that your design complies with Roblox’s Community Rules to avoid any issues during the approval process.
Step 5: Save your design with a transparent background
Once you’re satisfied with your design, save it as a PNG file with a transparent background. This ensures that your clothing item will appear correctly on avatars without any unwanted background colors or artifacts.
Step 6: Upload and configure your clothing item on Roblox
Go to the Roblox website and click on the ‘Create’ tab in the top menu. Select the appropriate category (Shirts, Pants, or T-Shirts) based on the type of clothing item you’ve designed. Give your item a unique name and click ‘Choose File’ to upload your saved PNG design.
After uploading, click ‘Configure’ to set a price for your item (in Robux) and adjust other settings such as description, genre, and access permissions. You can also choose whether to make your design public or private, depending on your preferences.
Step 7: Submit your clothing item for approval
Once you’ve configured your item, click ‘Upload’ to submit it for review. Roblox will evaluate your submission to ensure it meets its guidelines. If approved, your custom clothing item will be available for purchased by other users on the platform.
Step 8: Promote and monetize your custom clothing
With your clothing item approved and listed on Roblox, it’s time to promote and monetize your creation. Share your designs through social media, forums, and within the Roblox community to reach a wider audience. You can also collaborate with other creators, join design groups, and participate in events to showcase your work.
You’ll be well on your way to making distinctive, individualized avatar attire in Roblox if you follow these steps. Have fun designing and sharing your creations with the world!
What Other Items Can You Create & Monetize On Roblox?
Apart from avatar clothing, there are several other items you can create and monetize on Roblox. These include:
- Gamepasses: Gamepasses are special items that grant players exclusive perks or abilities within a specific game. You can create and sell game passes to enhance the gaming experience, offering features like premium access, special powers, or additional in-game currency.
- Developer products: Developer products are in-game items that players can purchase multiple times. They can be consumable items (like power-ups or extra lives) or non-consumable items (such as unlocking new levels or characters). You can monetize your games by producing and selling developer products.
- UGC (User-Generated Content) catalog items: The UGC Catalog allows selected creators to design and sell unique accessories, such as hats, glasses, and backpacks, for avatars. While this feature is currently limited to a small group of approved creators, Roblox plans to expand access in the future.
- Game assets: If you have a talent for designing 3D models, textures, or animations, you can create and sell game assets to other developers. Many creators are willing to pay for high-quality assets to improve their games or save time during the development process.
- Plugins and scripts: Skilled scriptwriters can create and monetize plugins or custom scripts for use in Roblox Studio. These tools can streamline the development process, add new functionality, or automate repetitive tasks for other developers.
- Ad space: If you have a popular game or place on Roblox, you can monetize it by selling ad space within your game. This can include billboards, banners, or sponsored content, allowing other creators to promote their games or products to your audience.
You can use your creativity and abilities to sell your work on Roblox and possibly create a reliable source of revenue by investigating these several options.